How to Upload Files to ftpGrid Using FileZilla
Published 2025-11-07 10:01:18.70195 by Carsten Blum
Updated 4th April 2026
When you’re getting started with ftpGrid, one of the easiest ways to connect is by using a FTP client like FileZilla, a free and open-source FTP/SFTP client that works on Windows, macOS, and Linux- With ftpGrid’s managed FTP & SFTP cloud storage, you can securely store, share, and manage files without the complexity of self-hosted servers. It is of course possible to use ftpGrid build in browser based File manager to manage your storage, but this tutorial is about FileZilla. For the purposes of the onboarding guide, you just need to connect using any FTP client.
Prefer hands-on over reading tutorials? ftpGrid is built to be intuitive — create a free account and get started instantly.
Why Use ftpGrid with FileZilla?
FileZilla provides a graphical interface that makes it incredibly simple to transfer files between your computer and ftpGrid’s secure cloud storage.
With ftpGrid you get:
Fully managed FTP, FTPS, and SFTP endpoints hosted in Germany
GDPR compliance and end-to-end encryption (we never mine or sell your data)
Zero setup time – your storage space is ready the moment you sign up
Privacy by design – ftpGrid doesn’t track your files or usage patterns
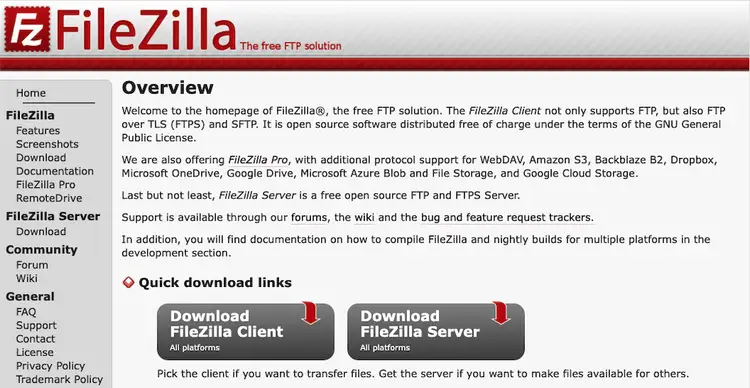
Step 1: Download and Install FileZilla
Visit the official website: https://filezilla-project.org
Click Download FileZilla Client (not the Server version).
Choose the version for your operating system (Windows, macOS, or Linux).
Install FileZilla using the default options.
Step 2: Create ftpGrid storage account
After creating your ftpGrid account, you can create a storage account (FTP/SFTP/FPTS) with 1 click the FTP accounts page.
Find the below widget and click "Generate account"
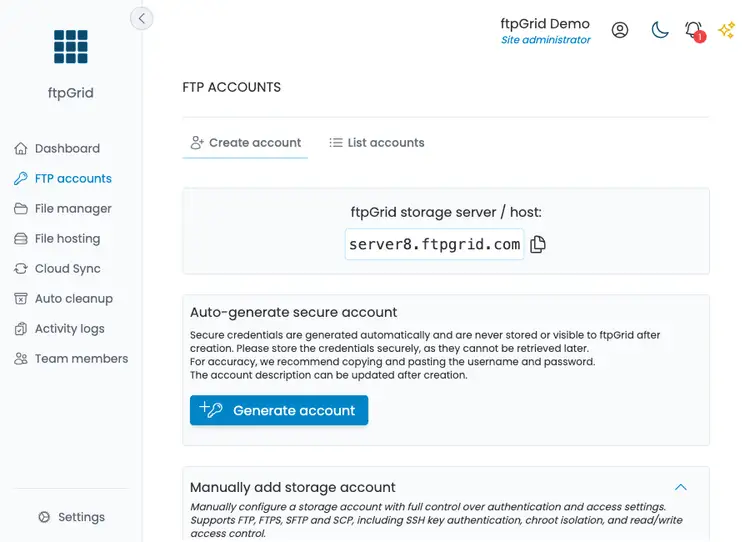
Tip: ftpGrid supports both FTP, SFTP and SFTP, so you can connect securely using your preferred protocol. For maximum security, we recommend using SFTP whenever possible.
You'll see a dialog with your automatically generated credentials like below. Either copy credentials directly to FileZilla in the next step, or save the access credentials file.
Tip: You can change the account description directly in the dialog and click the save icon.

Step 3: Open FileZilla and Connect to ftpGrid
Launch FileZilla.
In the Quickconnect bar at the top, fill in the following fields:
Host: your ftpGrid host (e.g.
edgeN.ftpgrid.com)Username: your PREFIX.username
Password: your ftpGrid password
Port: (leave empty — FileZilla will detect automatically)
Click Quickconnect.
Approve the Unknown Certificate prompt.
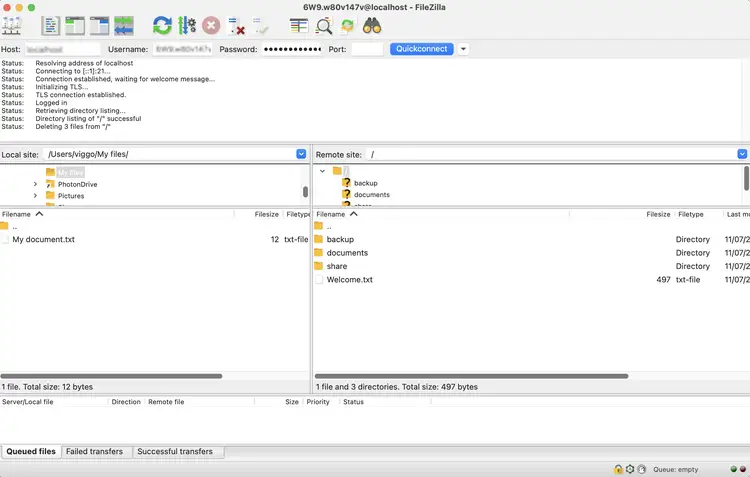
If everything is correct, you’ll see a connection log appear in the top window and a message saying “Directory listing successful.”You are now connected to your ftpGrid cloud storage!
Step 4: Understanding the FileZilla Interface
FileZilla’s interface is split into two main panels:
Left side: Your local computer (files and folders on your device)
Right side: Your ftpGrid cloud storage (remote server files)
You can drag and drop files between these two panels, or right-click for more options.
Step 5: Upload Files to ftpGrid
To upload files or folders:
Browse to the folder on your local computer (left panel).
On the right side, navigate to the desired folder on ftpGrid (you can use
/or any custom folder).Right-click the file or folder on the left side, your local computer, you want to upload and select Upload.

You’ll see the transfer progress at the bottom of the FileZilla window.When complete, your files are securely stored in ftpGrid’s SFTP cloud storage environment — encrypted in transit and at rest.
Step 6: Verify Your Upload
Once uploaded, you can:
View your files directly in FileZilla’s remote panel
Access them from any SFTP or FTP client
Go back to the ftpGrid File manager and view the file using web
(If you are following the onboarding guide, remember to refresh the dashboard)
If you’re using ftpGrid for backup or camera storage (e.g. Reolink or Axis), you can also automate future uploads directly from your devices.
Summary
You’ve just connected to ftpGrid using FileZilla and uploaded your first files to your private cloud FTP/SFTP storage — without touching a single line of code.
With ftpGrid, you get:
Privacy-first storage (no tracking, no data mining)
Encrypted file transfers
GDPR-compliant hosting in Germany
Secure access from any FTP, SFTP, or FTPS client