Reolink E1 Outdoor FTP Setup – Cloud Storage with ftpGrid
Human madePublished {$created} by Carsten Blum
The Reolink E1 Outdoor is an excellent camera for home and business security — but if you rely only on Reolink Cloud or local SD cards, your footage can be at risk during outages or device failures.
Prefer hands-on over reading tutorials? ftpGrid is built to be intuitive — create a free account and get started instantly.
By using ftpGrid’s FTP & SFTP Cloud Storage, you get:
Independent, GDPR-compliant storage in Germany
Full encryption at rest and in transit
No reliance on Reolink Cloud or third-party vendors
A simple backup that continues working even if your app or NVR fails
In this tutorial I'll use our newly installed puppy cam. :-)
Step 1: Download the Reolink App
Start by downloading the official Reolink app for your platform:
After installation:
Plug in your Reolink E1 Outdoor camera.
Follow the in-app guide to add a new device.
Connect it to your Wi-Fi network and set an admin password.
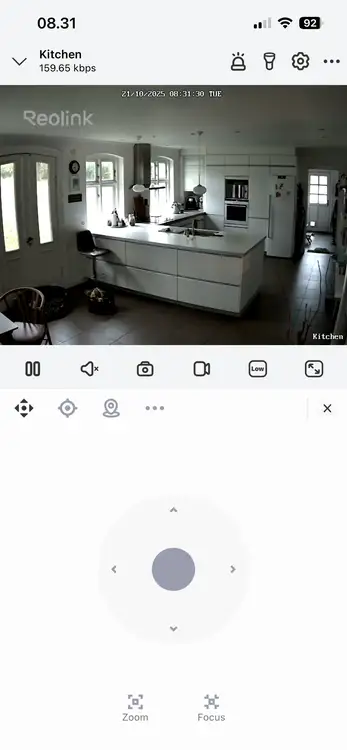
Once your camera is online, you can view the live stream and basic settings directly in the app.
Step 2: Enable the Web Interface
For easier configuration (especially for FTP settings), enable the Web UI from the Reolink app.
In the app, open the camera’s Settings menu with the cog.
Navigate to Device Settings at the top with the device name
Go to Network information, note the IP address of the camera, example:
http://192.168.10.152:80At the bottom go to Avanced menu
Tap Enable HTTP/HTTPS Web Access.

Step 3: Log In to the Camera Web Interface
Open a browser on your computer and go to the IP address shown in the app. Log in using the same credentials you created earlier.
Once logged in, you’ll have full access to:
Live feed
Recording settings
Motion detection
FTP upload setup

Step 4: Prepare Your ftpGrid Cloud Storage
If you haven’t yet created an ftpGrid account, start here: https://app.ftpgrid.com/auth/signup/
You’ll get connection details like:
Server: edgeN.ftpgrid.com Username: PREFIX.yourname Password: ******** Port: 21 (FTP) or 22 (SFTP) Directory: /uploads/The free tier gives you 512 MB of space — enough to test uploads or store smaller clips. For more space, you can upgrade anytime.
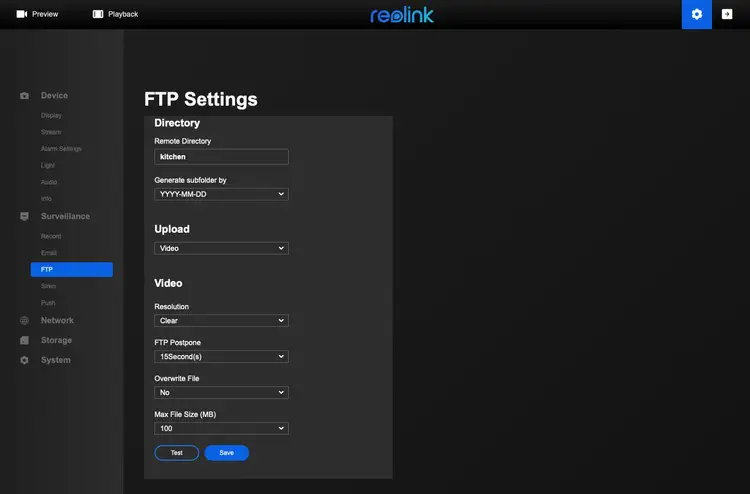
Step 5: Configure FTP in the Reolink Web UI
In the web interface, go to Settings → Storage → FTP.
Check Enable FTP.
Enter your ftpGrid details:
Setting | Example |
|---|---|
Server Address |
|
Port |
|
Username |
|
Password |
|
Remote Directory |
|
Mode |
|
Click Test FTP to verify the connection.
Once successful, click Apply.

Step 6: Test the Connection
Trigger a manual upload or motion event to ensure everything works.
You can confirm the upload in your ftpGrid account using an FTP client like FileZilla, Cyberduck, or even the terminal:
curl -u PREFIX.yourname:YourPassword ftp://edgeN.ftpgrid.com/uploads/You should see your Reolink E1 Outdoor snapshots or video clips appear in /uploads/.

Step 7: Verify Upload Automation
You can set how frequently your camera uploads by adjusting the schedule and trigger events under Settings → FTP Schedule.This allows you to upload only on motion detection, or continuously depending on your use case.
That’s It!
Your Reolink E1 Outdoor camera is now fully connected to ftpGrid Cloud Storage. No subscription lock-in, no privacy risks, and full control of your data.
GDPR-compliant hosting in Germany
Encryption in transit and at rest
Simple FTP/SFTP connection
Always accessible, even during global cloud outages
Related Reading
With ftpGrid, your camera footage stays yours — secure, independent, and always online.